
How to deploy the Atera agent?
This document outlines the step-by-step process of how to deploy the Atera RMM agent to install the ThreatLocker agent.
This article is a part of our ThreatLocker How-to Guides series, Chapter 02 – Third-Party Software Installation & Configuration.
Introduction
What is Atera?
Atera is a remote monitoring and management (RMM) platform that enables IT professionals to manage and support client devices remotely. Once installed, Atera can be used as an RMM tool to install the ThreatLocker agent in a batch of computers.
Objective
This guide explains how to install and deploy the Atera agent on a new device so it can be monitored and managed remotely from the Atera dashboard.
Implementation
Step 1: Log In and Access the Agent Installer
Log in to your Atera dashboard, then go to the Devices section.
Click on “Install Agent” to begin the setup

Step 2: Choose the Operating System
Next, in the installer window, select the appropriate operating system (e.g., Windows, macOS).
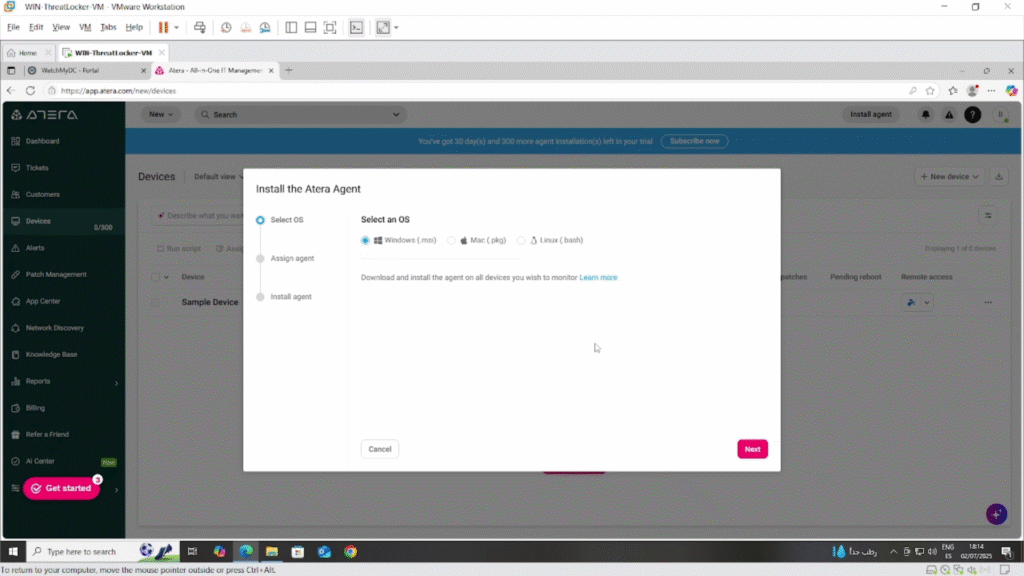
Click Next through the configuration steps until you reach the final screen.
Click “Download” to retrieve the agent installer file.

Step 3: Run the Installer
Once the file is downloaded, run the EXE file on the target device.
The installation will proceed automatically. No manual configuration is required.

Step 4: Confirm in the Dashboard
After installation, return to the Atera dashboard, your device should now appear :

Conclusion
Deploying the Atera agent is a quick and seamless process that allows IT administrators to bring devices under centralized monitoring and management in just a few steps.
Therefore, by logging into the dashboard, selecting the correct installer, running it on the target device, and confirming the registration, you ensure the workstation is fully integrated into your Atera environment.
Once installed, the device becomes visible in the console and ready for remote support, automation, and real-time monitoring.