How to Uninstall the ThreatLocker Agent
This document outlines the step-by-step process to uninstall the ThreatLocker agent from a computer machine. This process is essential to disable centralized management and policy enforcement on endpoints from the ThreatLocker Dashboard.
This article is a part of our ThreatLocker How-to Guides series, Chapter 01 – Installation & Deployment.
Introduction
What is the ThreatLocker Agent?
The ThreatLocker agent is a security component installed on endpoint devices to enforce application allowlisting, ringfencing, storage control, and other security policies. Once installed, it tightly integrates with the system to prevent unauthorized changes or threats.
Protection Against Uninstallation
To enhance security, the ThreatLocker agent includes tamper protection, which prevents unauthorized users from uninstalling the agent directly from the device. Therefore, disabling this protection is required before uninstallation.
Objective
The goal of this guide is to provide a step-by-step method to safely and completely uninstall the ThreatLocker agent from a target machine using the ThreatLocker Portal and the official uninstaller.
Implementation
Step 1: Disable Tamper Protection via the ThreatLocker Portal
Log in to the ThreatLocker Portal and navigate to the Devices section. From the list of registered devices, locate and select the one you wish to uninstall the agent from.

Click on the device to open its details, then go to the “Maintenance” section. In the maintenance menu, you must:
- Select a maintenance type: choose “Disable Tamper Protection” from the dropdown list.
- Click “Add Scheduled Maintenance” to define the maintenance schedule (e.g., select the current date and time).
Now click “Save” to apply and activate the maintenance session.

Once saved, a red tag “Tamper Protection: Disabled” will appear next to the device in the portal, confirming that the protection has been successfully disabled.

Step 2: Download and Run the Uninstaller
Once tamper protection is disabled, the next step is to download and run the ThreatLocker uninstaller on the target device.
- Now, download the appropriate uninstaller for your system architecture from the following link: https://threatlocker.kb.help/uninstalling-the-threatlocker-agent/
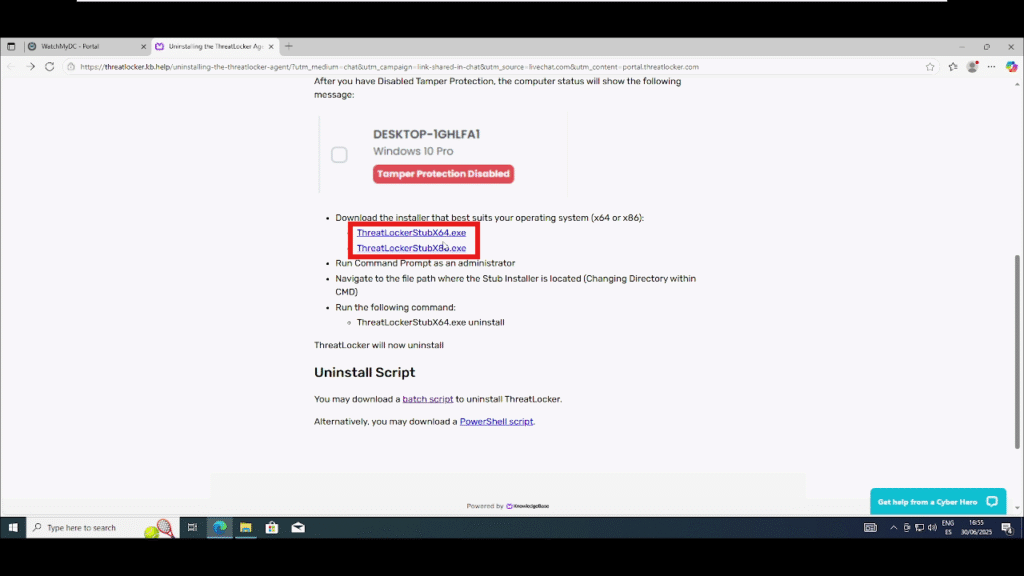
On the device, open a Command Prompt as Administrator, navigate to the folder where the uninstaller was saved, and run the following command to start the uninstallation: ThreatLockerUninstallStubX64.exe /uninstall

After a few seconds, the ThreatLocker agent will be automatically removed from the device, and the machine will disappear from the ThreatLocker Portal.

Conclusion
By following these steps, you can easily and safely uninstall the ThreatLocker agent from a device. However, once the uninstallation is complete, the device will no longer appear in the ThreatLocker Portal or be protected by its policies.